How to Take Professional Headshots at Home (2026 Guide)
Learn how to take professional-quality headshots at home with DIY tips for lighting, background, and posing, plus modern AI alternatives that skip the setup entirely.
LensCherry Team
AI Photo Experts • Updated February 2026
Why Home Headshots Are Becoming the Norm
The days of booking a $300 studio session for a single headshot are fading. Remote work normalized the home office, and now it's normalizing the home photo studio too. Whether you need a headshot for LinkedIn, your company website, or a conference speaker bio, you can get professional results without leaving your house.
This guide covers two approaches: the traditional DIY method (phone or camera, basic setup) and the modern AI method (upload selfies, get studio-quality output). Both work. The right one for you depends on your time, budget, and how particular you are about the results.
The DIY Approach: Taking Your Own Headshot
Equipment You Actually Need
You don't need expensive gear. Here's what works:
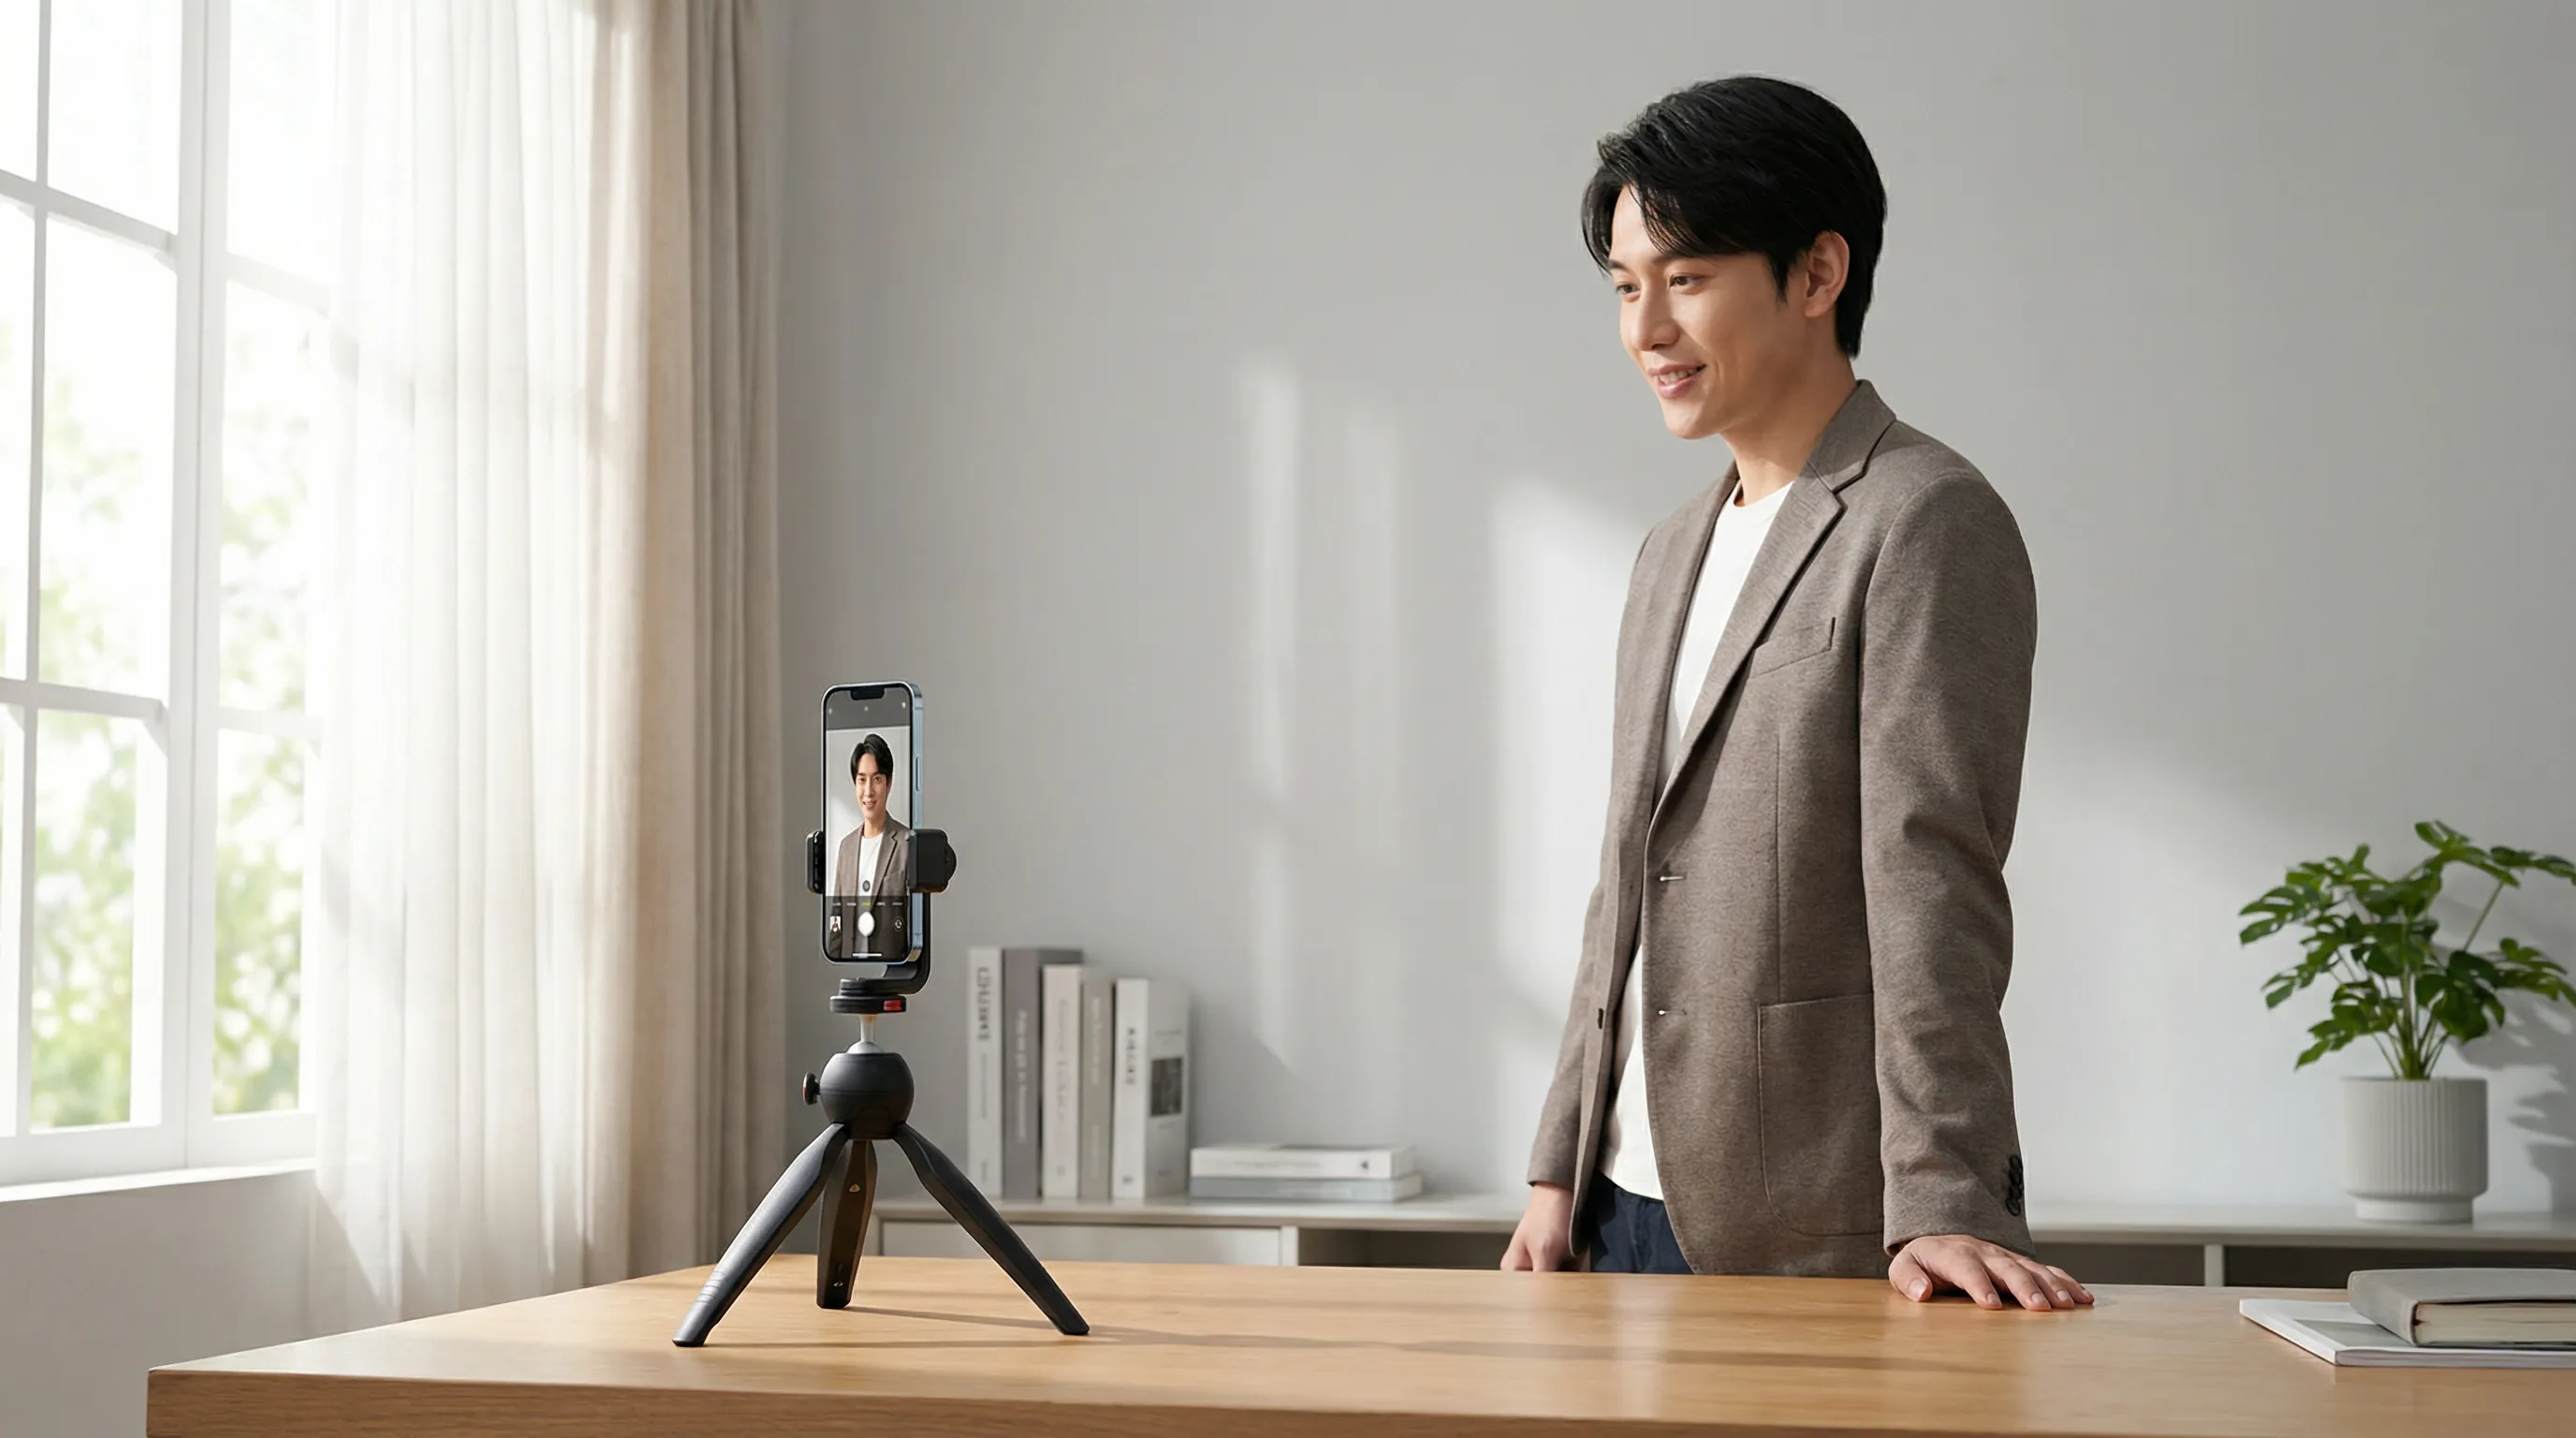
- Camera: Any smartphone made after 2022. The front camera on modern iPhones, Pixels, and Galaxy phones shoots at 12MP+, more than enough for a headshot. A DSLR or mirrorless camera is even better, but not required.
- Tripod or stand: A $15 phone tripod from Amazon. Or honestly, prop your phone against a stack of books. Works fine.
- Timer or remote: Use your phone's built-in timer (3 or 10 seconds) or a Bluetooth shutter remote ($8 on Amazon). Apple Watch owners can trigger the iPhone camera from their wrist.
Lighting: The Single Most Important Factor
Bad lighting ruins everything. Good lighting fixes almost everything. Here's how to get it right at home:
Best option: Window light
- Stand facing a large window with indirect light (not direct sun)
- Position yourself 2-3 feet from the window
- The light should hit your face evenly, with no harsh shadows
- Overcast days produce the softest, most flattering light
- Morning and late afternoon windows work better than midday
Second option: Ring light or desk lamp
- A ring light ($20-40) placed directly in front of you at face height
- If using a desk lamp, bounce the light off a white wall or ceiling to soften it
- Avoid overhead lighting. It creates shadows under your eyes and nose
What to avoid:
- Fluorescent office lighting (adds a green/yellow cast)
- Backlighting from windows behind you (makes your face dark)
- Mixed light sources (one warm, one cool) that create color inconsistency
- Direct flash, which flattens your features and looks harsh
Background Setup
Keep it simple:
- Plain wall: White, light gray, or muted colors work best. If your walls are a bold color, hang a plain bedsheet.
- Declutter: Remove anything distracting. A clean background says "professional."
- Distance: Stand at least 3 feet from the wall to avoid harsh shadows and create slight background blur.
- Textured backgrounds: A bookshelf or simple office environment can work if it's tidy and not distracting.
Posing Basics
For more detailed posing advice, check our complete headshot posing guide. Here are the essentials:
- Angle your body slightly (15-30 degrees) rather than facing the camera straight on
- Shoulders down and relaxed. Tension shows
- Chin slightly forward and down. This defines your jawline and avoids the "double chin" effect
- Eyes to the lens. Look directly at the camera, not the screen
- Natural smile. Think of something that genuinely amuses you right before the shot
Camera Settings
Smartphone tips:
- Use portrait mode for natural background blur
- Clean the lens (seriously, fingerprints destroy sharpness)
- Use the rear camera with a timer for better quality than the selfie camera
- Turn on HDR for balanced exposure
- Shoot at the highest resolution available
DSLR/mirrorless tips:
- 85mm or 50mm focal length (avoid wide angles that distort faces)
- f/2.8 to f/4 aperture for pleasing background blur
- ISO as low as possible (100-400) to avoid noise
- Shoot in RAW for better editing flexibility
Take More Photos Than You Think
The biggest mistake people make is taking 5 photos and hoping one works. Professional photographers take hundreds of shots in a session because even small variations in expression and angle matter.
Take at least 50-100 shots. Change your angle slightly between bursts. Adjust your smile. Try different head tilts. You're looking for that one frame where everything aligns, and the more frames you take, the more likely you are to find it.
The AI Alternative: Skip the Setup Entirely
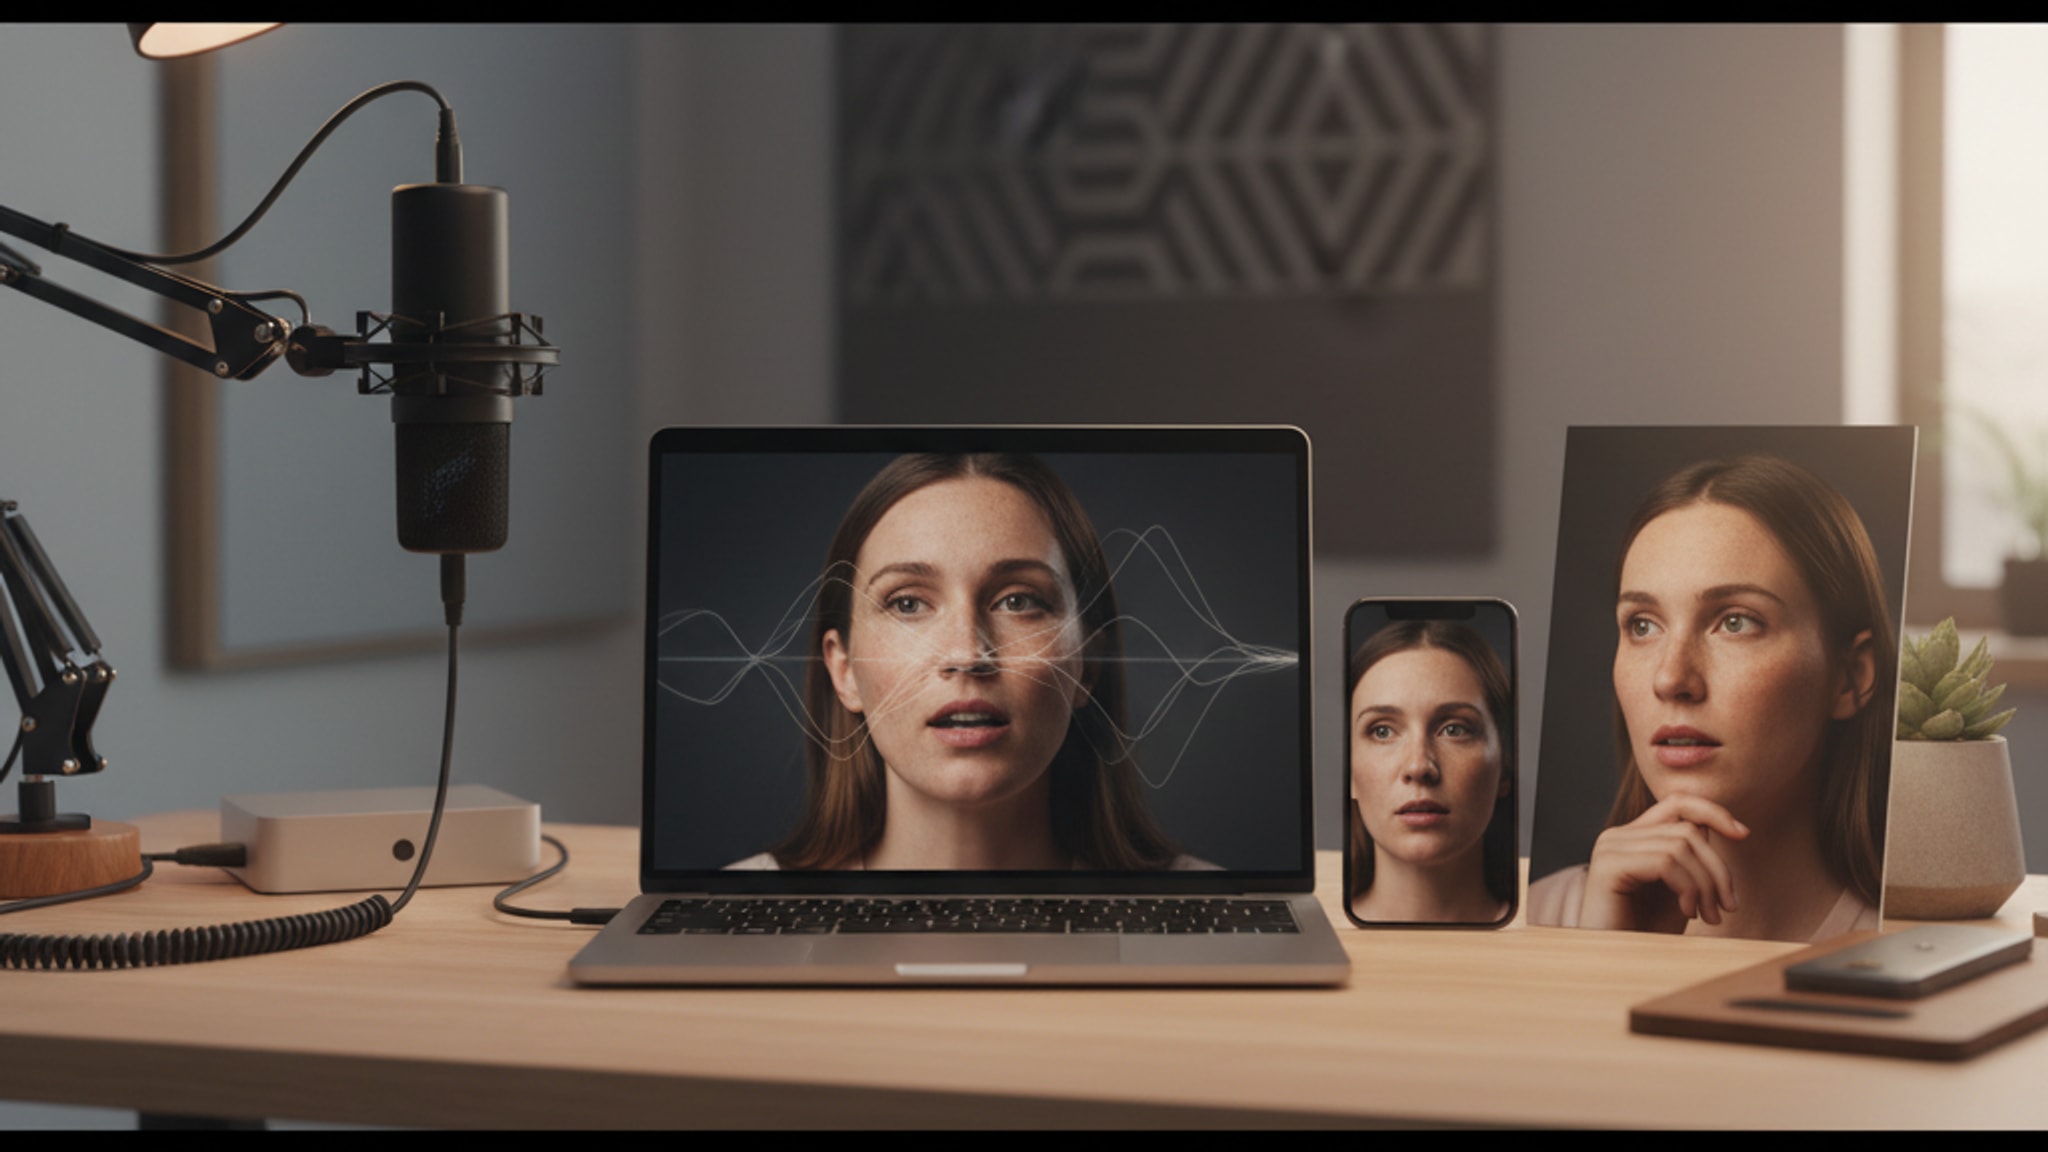
Everything above works, but it requires time, decent lighting conditions, and some trial and error. The modern alternative: upload a few casual selfies and let AI generate studio-quality headshots for you.
How AI Headshots Work
- Upload 5-10 photos of yourself (casual selfies from different angles)
- Our AI analyzes your photos using a proprietary workflow to capture your likeness, proportions, and unique characteristics
- Generate headshots in any style: professional, creative, dating, social media
- Download and use. Results are typically indistinguishable from professional photography
The best AI tools produce output at 2K or 4K resolution with proper lighting, professional backgrounds, and natural expressions. Generation takes seconds to minutes depending on the platform.
When to Go DIY vs AI
DIY makes sense when:
- You enjoy photography and have the time
- You want exact control over every detail
- You already own decent camera equipment
- You need a very specific background or setting that AI can't replicate
AI makes sense when:
- You need results fast (30 seconds vs 30+ minutes of setup)
- You want multiple styles (professional, dating, social) from one session
- Your home lighting situation is poor
- You don't own a tripod or decent camera
- You want variety without reshooting
Getting Started with AI
Existing users can sign in to LensCherry to create headshots, dating photos, and creative portraits. Credit packs start at $4.99 and never expire.
For a detailed comparison of AI headshot tools, check our comparison of the best AI headshot generators in 2026.
Post-Processing Your DIY Headshots
If you went the DIY route, a little editing goes a long way:
Free Tools
- Snapseed (mobile), excellent for exposure, contrast, and portrait adjustments
- Google Photos built-in editor, surprisingly good for basic fixes
- GIMP (desktop), free Photoshop alternative for detailed edits
Quick Edits That Make a Difference
- Brighten slightly. Most home photos are too dark
- Increase contrast. Adds depth and makes colors pop
- Crop to headshot framing. Head and shoulders, face taking up 60-70% of the frame
- Sharpen eyes. Subtle sharpening on the eyes makes the whole photo feel more engaging
- Remove blemishes. Minor skin cleanup is standard, not deceptive
What to Avoid in Editing
- Over-smoothing skin (it looks fake and people notice)
- Heavy filters that change your skin tone
- Excessive brightening of teeth (uncanny valley territory)
- Adding artificial bokeh poorly (weird edge artifacts)
Platform-Specific Requirements
Different platforms want different things:
| Platform | Ideal Size | Shape | Style |
|---|---|---|---|
| 800x800 px | Square | Professional, formal | |
| 320x320 px | Circle crop | Creative, approachable | |
| X / Twitter | 400x400 px | Circle crop | Personal, authentic |
| Zoom | 150x150 px | Square | Clear, well-lit face |
| Company Website | 800x800+ px | Varies | Match brand guidelines |
For LinkedIn-specific tips, check our complete LinkedIn photo guide.
Common Mistakes to Avoid
The selfie arm: Holding your phone at arm's length creates distortion and screams "selfie." Use a tripod and timer.
The bathroom mirror shot: Never. For any professional purpose. Ever.
Over-dressing or under-dressing: Match your industry. A tech founder in a full suit looks as odd as a banker in a hoodie. Our industry-specific headshot guides cover this in detail.
Ignoring the background: A visible pile of laundry or messy kitchen undermines everything else.
Only one expression: Take shots smiling, serious, and everything between. Different contexts call for different energy.
The Bottom Line
Professional headshots at home are absolutely achievable. Good lighting, a clean background, and 20 minutes of effort can produce results that rival a studio session. And if you want to skip the setup entirely, AI headshot generators now produce studio-quality output from casual selfies in seconds.
Either way, there's no excuse for a bad professional photo in 2026. The tools exist. It's just a matter of picking the approach that fits your situation.
Get AI-generated headshots, dating photos, and more in just 30 seconds. Try your existing LensCherry account.
Sign in