Tips11 min read
Headshot Lighting: 3 Setups That Make You Look Pro
The window trick, the two-light setup, and the ring light hack. 3 lighting setups that make any headshot look like a $300 studio session.
Loading...
The window trick, the two-light setup, and the ring light hack. 3 lighting setups that make any headshot look like a $300 studio session.
LensCherry Team
AI Photo Experts • Updated February 2026

You can nail the pose, wear the perfect outfit, and stand in front of an ideal background. None of it matters if the lighting is wrong.
Lighting controls three things that your brain processes before anything else:
Professional photographers spend years learning to manipulate light. The good news: you don't need years. You need about 15 minutes of understanding, and the results will transform your headshots.
If you've ever wondered why studio headshots look so polished, this is why. Three lights, three jobs:
This is your primary light source, positioned 30-45 degrees to one side of the subject's face and slightly above eye level.
The key light does the heavy lifting. It defines the shape of the face and creates the primary shadows that give dimension. For headshots, you want this light softened through a modifier like a softbox or umbrella. A bare bulb creates shadows that are too harsh for most professional contexts.
Placement tip: Start with the light at 45 degrees from the subject and 45 degrees above. This is called "Rembrandt lighting" because the Dutch painter used this angle constantly. You'll see a small triangle of light on the shadow side of the face, just below the eye. That triangle is your sign that you've nailed the angle.
Positioned on the opposite side of the key light, lower and less powerful. Its job is simple: reduce the contrast between the lit side and shadow side of the face.
For corporate headshots, you typically want a fill light at about 50-70% the power of the key light. This keeps some shadow for dimension while preventing the dark side from going completely black. and usually want slightly more fill (less dramatic), while creative professionals can handle more contrast.
© 2026 Vesperion Gate Inc. All rights reserved.
Built with ❤️ for creators everywhere
A cheaper alternative to a second light: a white foam board or reflector on the fill side. It bounces key light back into the shadows. Most photographers keep a $5 foam board in their kit for exactly this reason.
This one sits behind the subject, usually pointed at the back of the head or shoulders. It creates a thin line of light along the edges that separates the subject from the background.
Without a rim light, dark hair against a dark background turns into a blob. The rim light fixes that. For headshots specifically, a subtle hair light works better than a dramatic rim. You want separation, not a halo effect.
When to skip it: If you're shooting against a light background, the contrast already separates the subject. The rim light matters most with medium-to-dark backgrounds.
Not everyone has a studio. Here are the natural light approaches that produce genuinely professional results.
A large window on an overcast day is essentially a giant softbox. The cloud cover diffuses the sunlight, creating soft, even illumination.
How to set it up:
This setup has produced legitimately great headshots for decades. Many portrait photographers prefer it to studio lighting because the quality of light is so naturally flattering.
Common mistake: Shooting with the window directly behind the subject. This creates a silhouette. The light needs to come from the side or from a 45-degree angle, just like a studio key light.
The hour after sunrise and before sunset produces warm, directional light that's naturally soft. For outdoor headshots, this is the sweet spot.
The specific technique: position the subject so the low sun acts as a key light from one side. The ambient sky light fills the other side naturally. You get dimension, warmth, and flattering skin tones without any equipment.
The catch: You have roughly 30 usable minutes. The light changes fast, so you need to work quickly. And cloudy days eliminate the effect entirely.
Find a spot where a building, tree, or overhang blocks direct sunlight but the subject still faces open sky. The indirect light wraps around evenly, producing soft illumination without harsh shadows.
Look for shade with a clean background. A shaded doorway facing a sunlit street creates beautiful directional light. The bright area in front acts as a natural reflector.
Office ceiling lights create downward shadows under the eyes, nose, and chin. They also cast a greenish tint that makes skin look sickly. If you've ever wondered why your webcam makes you look terrible, overhead fluorescents are usually the answer.
Fix: Turn off the overhead lights. Use a desk lamp bounced off a white wall, or face a window instead.
Your room has warm tungsten lamps (2700K, yellowish) plus cool daylight from windows (5500K, bluish). Your camera can adjust for one but not both simultaneously. The result: half your face looks orange, the other half looks blue.
Fix: Pick one light source and eliminate the other. Close the blinds and use only artificial light, or turn off all lamps and use only window light.
The built-in flash on your phone or camera fires straight at your face from the lens position. This does two things: it eliminates all shadows (making your face look flat and dimensionless), and it creates that unmistakable "deer in headlights" look with red-eye.
Fix: Never use direct flash for headshots. If you must use flash, bounce it off a ceiling or wall so the light arrives indirectly.
Standing in front of a bright window or outdoors with the sun behind you. Your camera exposes for the bright background, leaving your face dark. Or it exposes for your face, blowing out the background to pure white.
Fix: Reposition so the light source is to your side or behind the camera. If you want a backlit look on purpose, you need a reflector or fill light on the front of the face.
Light bounces. If you're standing 2 feet from a red wall, red light reflects onto the shadow side of your face. Same with green walls, yellow walls, or any strong color. This color cast is subtle but makes skin tones look unnatural.
Fix: Move at least 4-6 feet from colored surfaces, or use only white/gray/neutral backgrounds.
You don't need a $2,000 Profoto setup. Here's what actually works at each price point:
Here's where things get interesting for anyone who's read this far and thought, "That's a lot of work."
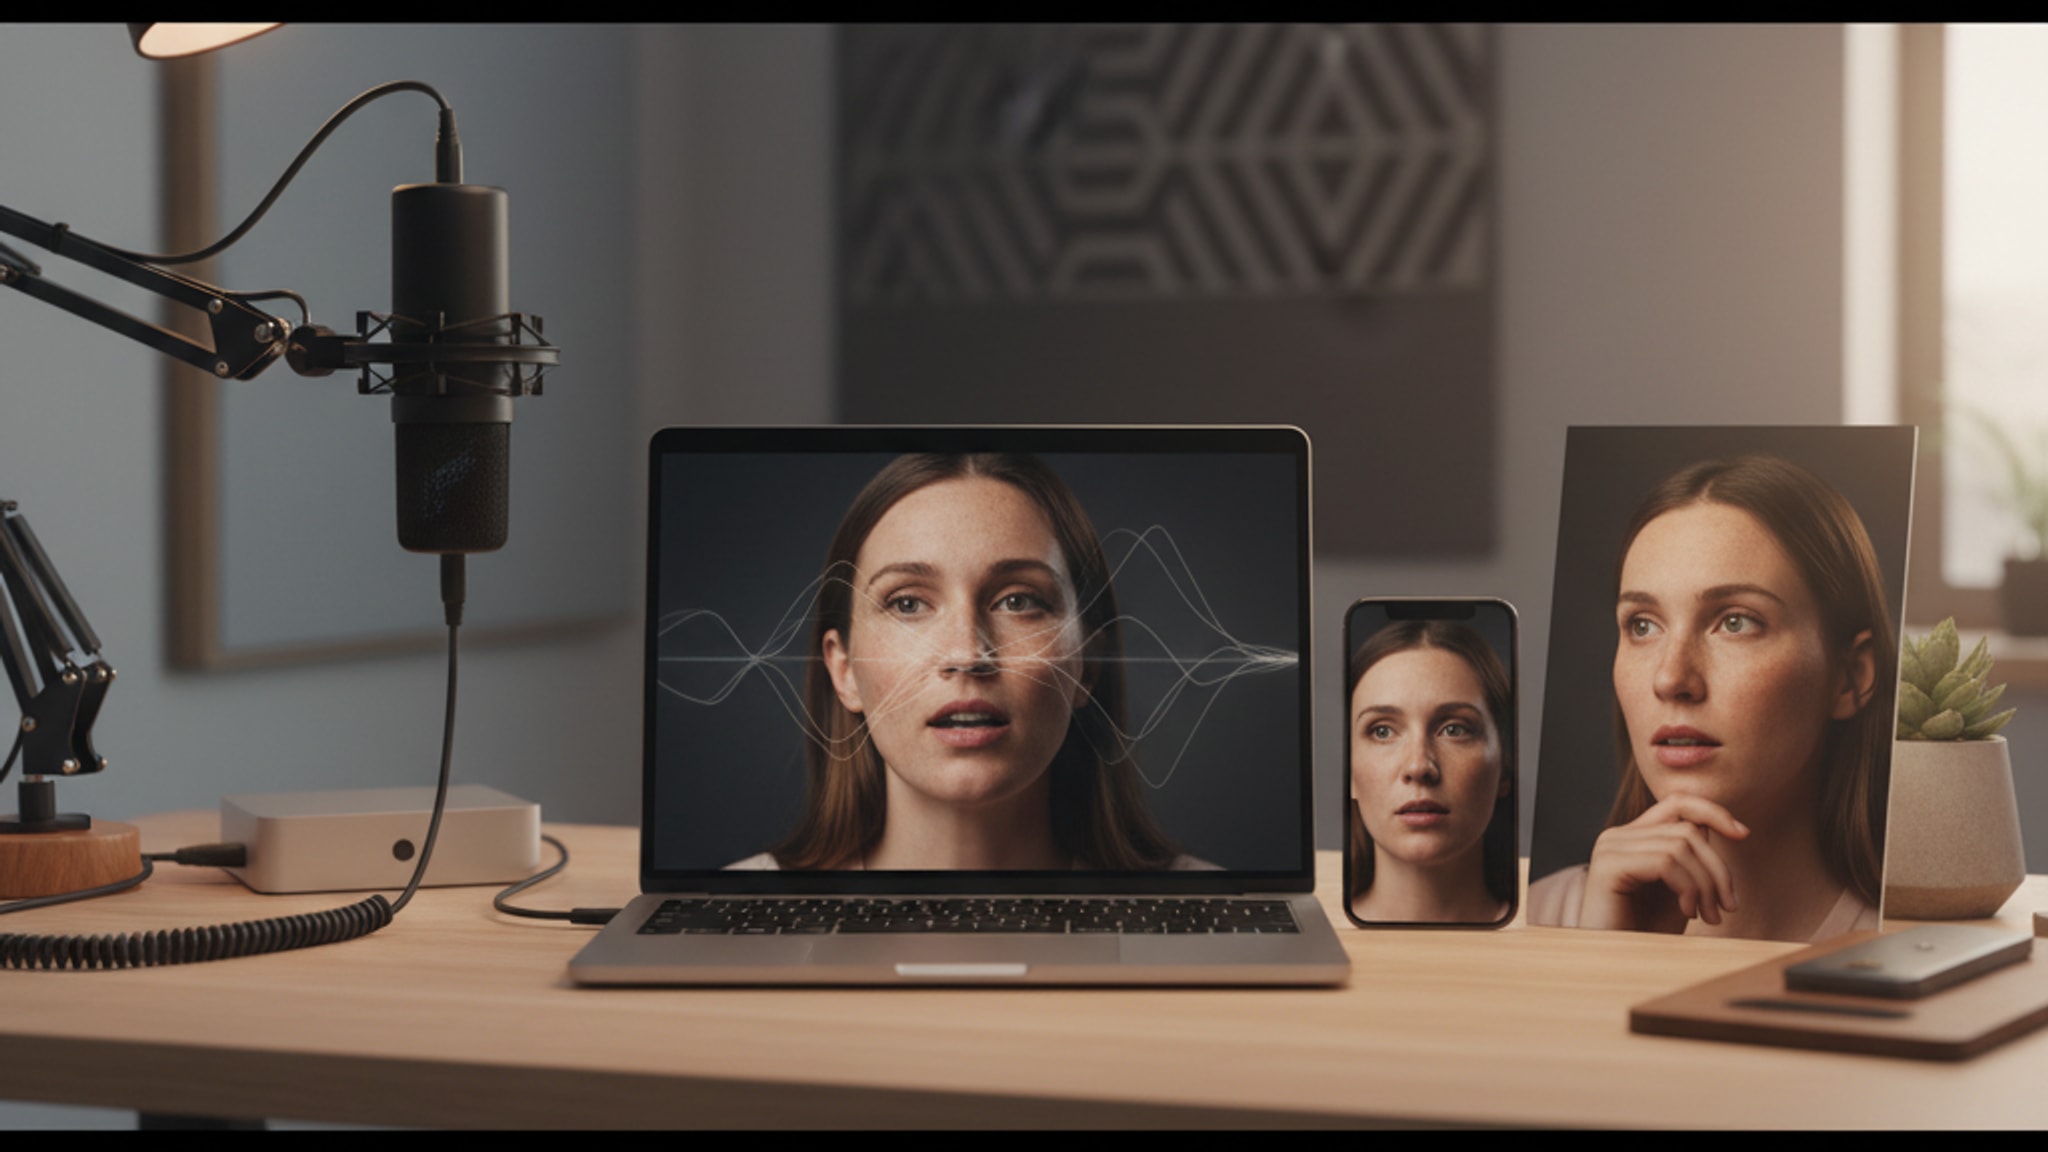
Modern AI headshot generators like LensCherry don't just paste your face onto a template. Personalized models understand lighting at a fundamental level. When you upload reference photos, the AI:
The practical result: you can upload selfies taken under mediocre office lighting, and the output looks like it was shot in a professional studio with a 3-point setup.
This matters because lighting is the #1 technical barrier for people taking their own headshots. You can learn to pose in 5 minutes. You can pick a good outfit in 10. But getting lighting right requires equipment, space, and practice that most people don't have.
That said, AI works best when it has good material to work with. Your reference photos don't need perfect lighting, but following a few basics helps:
For more on getting great results from AI tools, check our guide on how to get AI headshots that actually look like you.
You buy some lights, a backdrop, and learn to set it all up. The upfront investment gets you unlimited attempts, but each session still takes 30-60 minutes of setup, shooting, and selecting the best shot.
Best for: Photographers, content creators who need headshots regularly, anyone who enjoys the process.
A photographer handles everything. You show up, they light you, direct your poses, and deliver 3-10 retouched images within a week. For more on costs, see our headshot pricing breakdown.
Best for: Magazine covers, actors needing comp cards, anyone who wants a specific creative vision executed by a human expert. Also check our corporate team headshots guide if you need photos for the whole office.
Upload a few selfies, generate dozens of professional variations in minutes. Each generation applies studio-quality lighting automatically. LensCherry starts free with 3 credits, and credit packs from $4.99 give you as many headshots as you need across different styles.
Best for: Remote workers who need a quick professional photo, people updating LinkedIn profiles, anyone on a tight budget or timeline, and teams that need consistent headshots without booking a group session.
The quality gap between AI and traditional photography has narrowed dramatically. For LinkedIn, company websites, social profiles, and most professional contexts, AI headshots are genuinely indistinguishable from studio photos to the average viewer.
AI handles standard headshot lighting brilliantly. But some situations still call for a human behind the camera:
For everything else, the combination of basic lighting knowledge plus AI tools gets you 95% of the way there at 5% of the cost.
Before your next headshot, whether you're shooting it yourself or taking reference photos for AI:
Nail these basics and you're ahead of 90% of the headshots on LinkedIn right now.
Ready to skip the lighting setup entirely? Try LensCherry free with 3 credits and see what AI-powered studio lighting looks like on your face. Or explore our Quick Shots for instant results without creating a separate model.
9 min read